The Complete Guide for
Food Photography
Master food photography: equipment, lighting, styling, editing tips. Capture appetizing images for all skill levels.
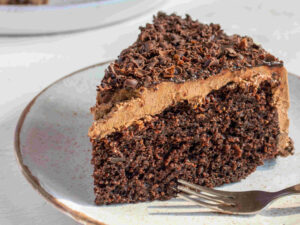
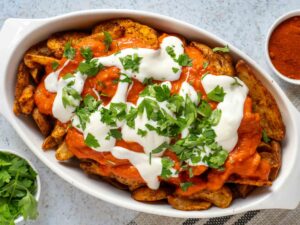
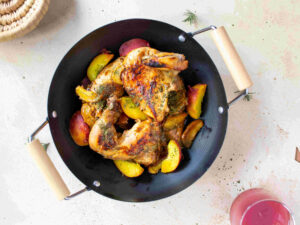
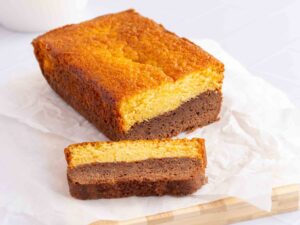
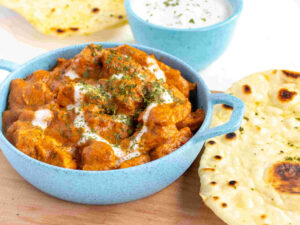
Introduction to Food Photography
Food photography involves taking aesthetically pleasing images of food. Unlike other types of photography, the goal is to make the food look as appetizing and visually stunning as possible. Food photographers work with restaurants, brands, cookbooks, magazines, and more to showcase dishes and products in an artistic way.
There are several main types of food photography:
- Commercial food photography – Images used in advertisements, packaging, menus, etc.
- Editorial food photography – Images that accompany recipes in magazines, cookbooks, blogs, etc.
- Still life food photography – Highly stylized, artistic compositions of food.
- Food photography for social media – Images of food optimized for platforms like Instagram and Pinterest.
Food photography is important because compelling images can influence consumers’ perceptions and buying decisions. When done well, food photography taps into the senses and emotions to evoke feelings of craving and desire. Photos with high production value also lend credibility and authority to recipes, restaurants, and brands.
Great food photos have certain key elements in common:
- Sharp focus with attention to detail
- Thoughtful styling and plating
- Attractive lighting that highlights textures
- Creative angles and perspectives
- Vibrant, natural colors
- Purposeful prop choices that complement the food
By mastering technical skills and developing an artistic eye, food photographers can create images that delight viewers and achieve their clients’ goals.
Camera Equipment
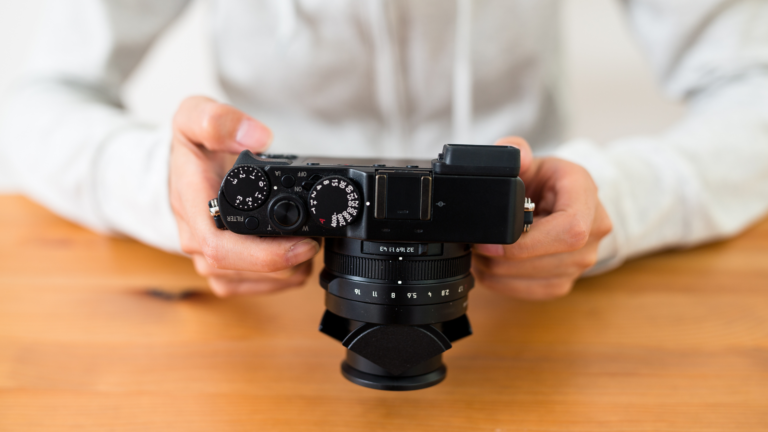
Choosing the right camera gear is essential for capturing high quality food photos. The two main options are DSLR and mirrorless cameras.
DSLR Cameras
DSLR cameras have traditionally been the top choice for food photographers. Key advantages include:
- Interchangeable lenses – ability to use specialty lenses like macro and tilt-shift
- Optical viewfinder – provides a real-time preview unaffected by lighting conditions
- Fast autofocus – important for shooting moving foods or changing compositions
- Excellent image quality – large sensors and sophisticated processing
Popular models like the Canon 5D Mark IV or Nikon D850 provide exceptional resolution and low-light performance perfect for food photos.
Mirrorless Cameras
In recent years, mirrorless cameras have become a viable alternative due to advantages like:
- Smaller/lighter body – improves portability and mobility around food sets
- Electronic viewfinder – provides a real-time preview of exposure, white balance, etc.
- In-body image stabilization – reduces blur from camera shake with slower shutter speeds
- Silent shutter – enables discreet shooting during plating, cooking, etc.
Top options include the Sony A7R III, Fujifilm X-T3, and Panasonic Lumix GH5.
Lenses
For maximum versatility, food photographers need several lens options:
- Macro lens – essential for shooting extreme close-ups to highlight textures
- Zoom lens – useful for quickly framing shots without moving your feet
- Fast prime lens – gathers more light and creates attractive bokeh
A macro like the Canon 100mm f/2.8L or a 24-70mm f/2.8 zoom offer great all-around performance.
Tripods and Remote Triggers
Since camera shake can ruin a perfectly styled food shot, a sturdy tripod is a must. Remote triggers also enable you to shoot without touching the camera, preventing vibration.
Understanding Exposure
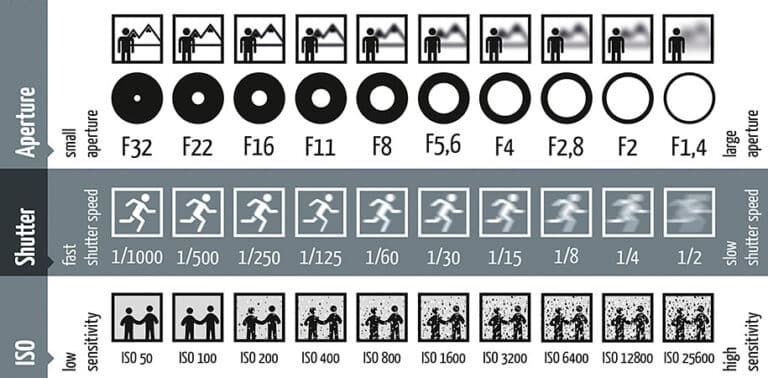
Exposure refers to the amount of light that reaches the camera sensor when taking a photograph. There are three camera settings that determine exposure – aperture, shutter speed, and ISO. Mastering these three components is crucial for achieving optimal exposure in food photography.
Aperture determines the size of the opening in the lens through which light passes. The aperture is measured in f-stops – the larger the f-stop number, the smaller the aperture. Aperture affects depth of field – smaller apertures (higher f-stop numbers) increase depth of field so more of the photo is in focus, while larger apertures (lower f-stop numbers) decrease depth of field for more background blur. For food photography, moderate apertures around f/8 are commonly used to keep the entire dish sharp while slightly blurring the background.
Shutter speed refers to the amount of time the camera’s shutter stays open to allow light in. Slow shutter speeds (1 second or longer) are used to capture motion, while fast shutter speeds (1/250th of a second or faster) freeze action. For food photography, relatively fast shutter speeds are used to keep the food looking crisp and sharp. A tripod can allow using slower shutter speeds if needed.
ISO controls the camera sensor’s sensitivity to light. Lower ISO values produce less image noise but require more light, while higher ISOs are better for low light but can create more noise or graininess. For food shots, stick to the camera’s native ISO range for optimal quality – usually ISO 100-1600.
The key is balancing aperture, shutter speed, and ISO to get the right exposure based on lighting conditions and creative goals. Adjust settings to achieve a bright, crisp, well-exposed photo that keeps all the food details sharp. Using exposure compensation and histograms can help nail the perfect exposure. Mastering exposure is essential for mouthwatering food photos.
Lighting Techniques
Proper lighting is crucial for capturing appetizing, professional-looking food photos. There are several key lighting techniques and tools to be aware of:
Natural Light
Natural light from the sun is an excellent light source for food photography. It creates a soft, diffused lighting effect that brings out the colors and textures of food.
-
Hard light refers to harsh, direct sunlight. This can create unwanted shadows and high contrast. It’s best to avoid shooting in hard midday light.
-
Soft light is when the sun is lower on the horizon, diffused through clouds or shaded areas. It creates a more even, flattering light. Early morning or late afternoon light is ideal.
Position your food where it will be illuminated by soft window light or open shade outdoors. Pay attention to the direction of light so it highlights your subject nicely.
Continuous Lighting
Continuous lighting stays on during the entire time you are shooting. This includes sources like household lamps, ring lights, and LED panels.
The advantage of continuous lighting is you can see exactly how the light falls on your scene as you shoot. This allows you to make adjustments and compose your shots.
Strobe and Flash
Strobe lighting only flashes on when you take the photo. This includes studio strobes, on-camera flash, and Speedlights.
Strobes output a short, powerful burst of light. This can freeze motion and create dramatic lighting effects. However, you can’t preview the lighting like with continuous sources.
Reflectors and Diffusers
Reflectors like foldable discs, boards, or sheets of white foam core bounce and redirect existing light onto your subject to fill in shadows.
Diffusers soften and scatter light. Translucent scrims or umbrellas can be used to diffuse harsh sunlight or strobe lighting.
Experiment with reflectors and diffusers to enhance your use of natural light or artificial sources. They allow you to precisely shape and control the light.
Composition and Styling
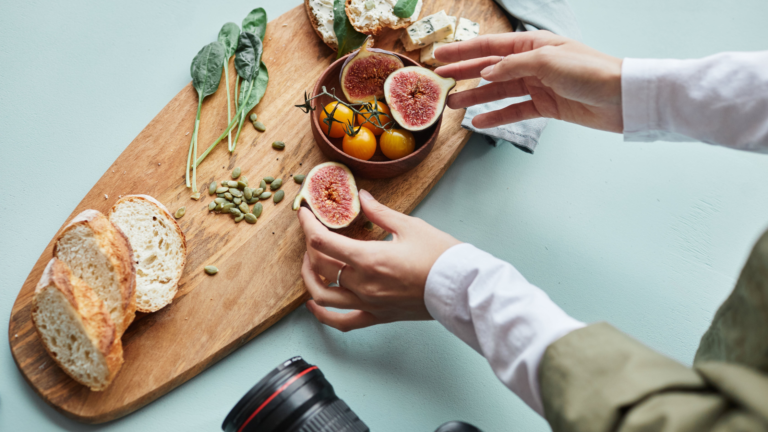
Composition is key in food photography. The arrangement of elements in the frame can make a huge difference in the visual appeal of the final image. Here are some composition techniques to keep in mind:
Rule of Thirds – Place important elements along the imaginary lines that divide the frame into thirds, either horizontally or vertically. This creates a more harmonious, engaging composition compared to placing subjects dead center.
Leading Lines – Use linear elements like utensils, drizzles of sauce, or table edges to draw the viewer’s eye into and through the frame. Leading lines create depth and movement.
Patterns and Repetition – Repeating elements like ingredients, plates, or flatware can create compelling geometric patterns. Alternating colors and shapes makes the composition more dynamic.
Negative Space – Don’t clutter the frame. Allow breathing room around the main subjects. Negative space balances out the busier areas.
Perspective – Shoot from a bird’s eye view directly overhead or at a slight angle to emphasize the food itself. A straight-on angle highlights the setting.
Depth of Field – Use a wide aperture for shallow depth of field, keeping part of the image softly blurred. Or stop down for greater depth of field to keep more in focus.
When it comes to styling, make the food look its absolute best. Here are some tips:
Choose fresh, flawless ingredients at their peak. Imperfections will show.
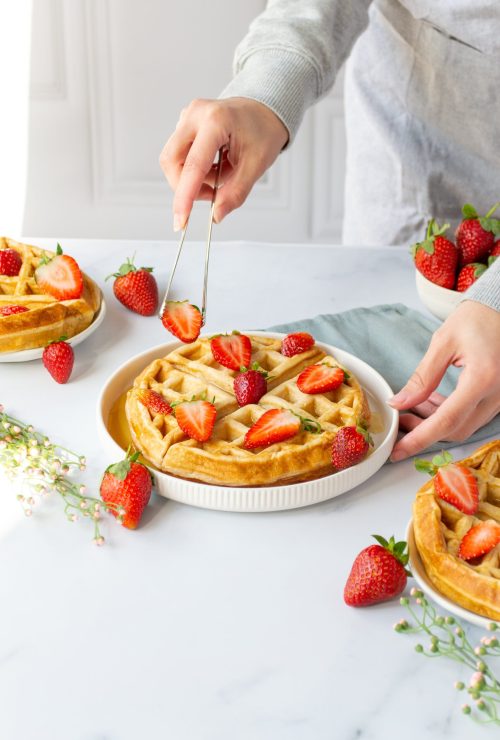
Carefully style the food using tongs or tweezers. Meticulously arrange each element.
Use non-stick spray or glycerine to add shine and moisture to foods.
Keep extra ingredients, sauces, etc on hand to quickly replace anything that doesn’t look perfect.
Have an assistant help by continuously tweaking and perfecting as you shoot.
Props play an important role in adding context and visual interest:
Stick to props that make sense for that type of food – don’t use random, distracting elements.
Vintage tableware and textured boards or surfaces photograph beautifully.
Include appropriate garnishes, herbs, spices, drizzles of sauce.
Additional props like flowers, linens, cutlery enrich the setting.
Choose backgrounds that complement the tone of the image:
Simple white backgrounds keep the emphasis on the food.
Wood, marble, metal surfaces add an upscale, elegant look.
Weathered boards, stone, reclaimed wood create a rustic vibe.
Vibrant patterned fabrics or papers inject color and personality.
With mindful composition and artful styling, you can create stunning, magazine-worthy food photos. Follow these guidelines to take your images to the next level.
Shooting Angles and Perspectives
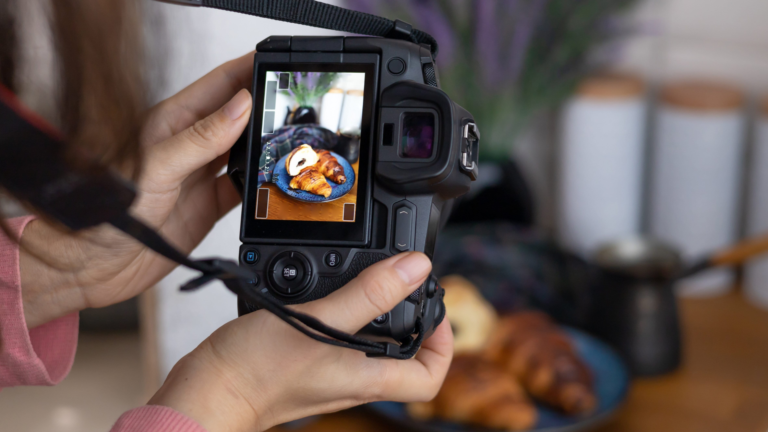
The angles and perspectives from which you shoot can dramatically impact the look and feel of your food photos. When composing your shots, consider using these techniques:
Overhead Shots
Shooting directly from above gives a straight-on, top-down view of the food. This angle works well for showing the overall plating and presentation. It’s also great for focusing on textures and colors in ingredients. Try using props to add interest to overhead shots.
45 Degree Shots
Angling your camera at roughly 45 degrees creates depth and dimension. You get a good look at the front and top of the dish. This classic angle draws viewers into the photo. Play with shooting from different 45 degree angles to find the most appealing view of the food.
Side/Profile Shots
Shooting from the side profile highlights the layers, shapes and structures within a dish. It shows the food’s volume and allows you to creatively compose geometric elements. Side shots are perfect for showcasing ingredients like stacked burgers or layer cakes.
Perspective
Use perspective to exaggerate depth and dimensions. Shooting from a low angle can make food look tall and towering. A high angle has the opposite effect, making dishes look flat. Play with shifts in perspective to create dramatic and unique looks.
Focus On Details
Don’t forget to zoom in and capture artistic close-ups. Showcase textures, colors and other details that tell a story. A splash of sauce, grated cheese or a sprinkling of herbs can become abstract art. Details add flair.
By experimenting with different shooting angles and perspectives, you can take your food photography to the next level. Find creative ways to showcase the beautiful visual elements of food.
Plating and Presentation
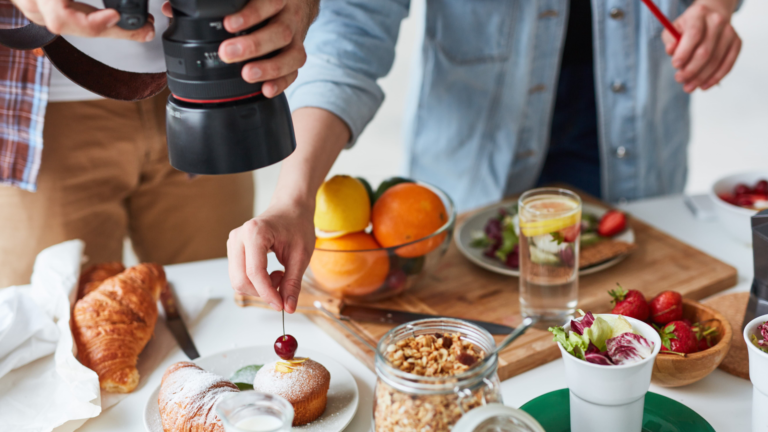
Plating and presentation play a vital role in food photography. The way that food is arranged on the plate or surface can make a photo look much more appealing and appetizing. Here are some key tips for creating beautiful plating and presentation in your food shots:
Balance the elements – Aim for balance in your plating. Make sure the food, plates, props, etc. are evenly distributed and not crowded to one side. Leave some negative space around the edges. You want the viewer’s eye to easily flow across the photo.
Vary heights and levels – Don’t keep everything on the same plane. Stack or pile elements to create height differences. You can place some foods higher using risers, cake stands, boxes, etc. This adds more visual interest.
Layer creatively – Layering foods is an excellent technique for food styling. Stack slices or pieces artfully. Show ingredients beneath sauces or toppings. Make sure each layer can be seen clearly.
Pour wisely – Pouring sauces or liquids over a dish can result in appetizing drips and streaks. Pour from a low angle so the pour is captured. Backlighting will illuminate the stream. Move the plate as you pour to guide the direction.
Mind the gaps – Negative space between food pieces is important. Be sure to leave some separation so the individual elements stand out. Don’t overcrowd the plate or scene.
Elevate subtly – Subtly elevating parts of the composition (lifting the back of the plate, propping up ingredients) creates depth and dimension. Don’t overdo it, as you still want a natural look.
Curve creatively – Curving lines in your plating can make the photo more dynamic. Curve slices of meat, shape rice or pasta into a crescent, or drizzle sauces in S-shapes. But don’t go overboard.
With smart plating techniques, you can transform a simple ingredient into a mouthwatering masterpiece. Experiment with height, shapes, and positioning as you style and compose your food photography scenes.
Post-Processing and Editing
Post-processing is a crucial step in creating stunning food photos. There are several techniques you can use to take your images from good to great:
Color Correction
Adjusting the colors in your food photo is one of the most important editing techniques. Pay attention to the white balance and overall color cast. Make sure the colors look natural and appetizing. You can adjust the temperature, tint, exposure, contrast and vibrance sliders until you achieve the desired look.
Cropping and Straightening
Carefully crop your image to highlight the hero food elements and remove any distracting background elements. Use the crop tool to straighten your image and adjust the composition if needed.
Selective Adjustments and Touchups
Use adjustment layers, masking and brushes to selectively edit parts of your image. For example, you can brighten up underexposed areas or darken overexposed highlights. Retouch any imperfections on the food or plate. Dodge and burn to add dimension and depth.
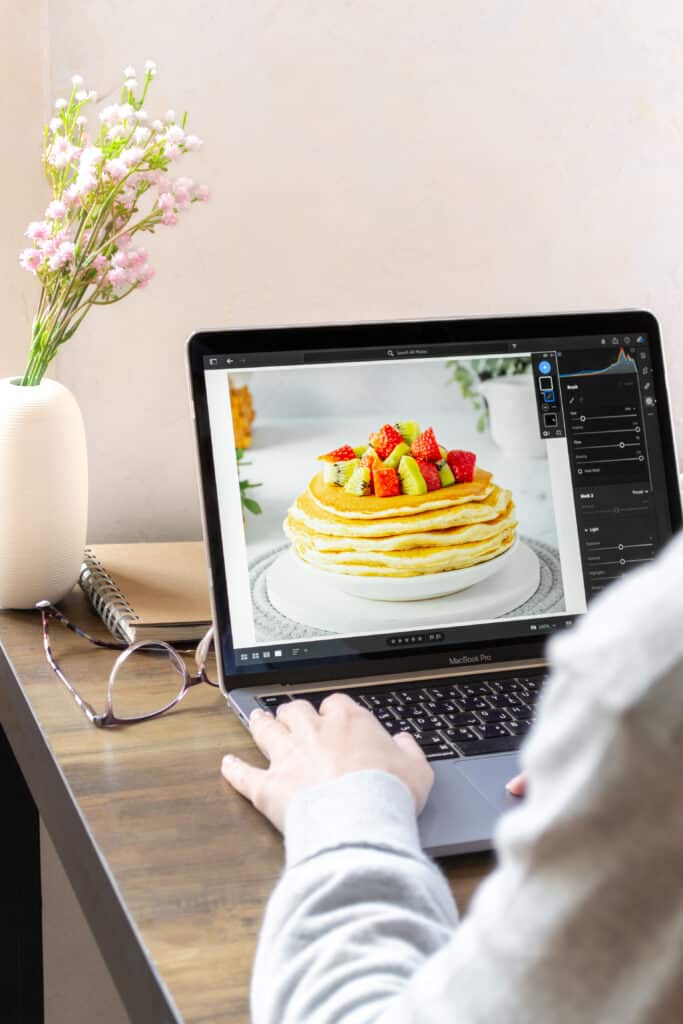
Sharpening
Add a sharpening filter to make details like food textures pop. But don’t oversharpen or it can look unnatural.
Creative Effects
Try unique editing techniques like cross-processing for a stylized look. You can also add lens flare, light leaks or other effects. But use these sparingly to complement your food photo.
The key is to develop a consistent editing style and workflow tailored to your brand aesthetic. With practice, you’ll learn how to enhance your food photos through editing.
Building a Food Photography Portfolio
Your portfolio is an essential marketing tool as a food photographer. A strong portfolio showcases your skills and style to potential clients. When building your food photography portfolio:
Curate only your absolute best work. Be highly selective and only include around 10-20 images that represent your capabilities. Don’t overload your portfolio.
Showcase a variety of food photography styles and subjects. Include a diverse mix of commercial product shots, artistic still life images, editorial restaurant photography, etc. This displays your versatility.
Organize your portfolio logically, starting with your best work. Arrange by theme or food category to create cohesive sections.
Optimize photos for web viewing. Resize appropriately, sharpen, adjust color/tone, etc. High quality images are key.
Write short descriptions for each photo. Explain the concept, style, techniques used. Help viewers appreciate your work.
Link to full-resolution images and allow downloads. Clients will want to see details up close.
Promote your portfolio everywhere. Link to it prominently on your website, social media, email signature, etc.
Update frequently with new work. Show you are active, improving, and expanding your portfolio over time.
Solicit feedback from peers and mentors. Ask how your portfolio could be strengthened. Be open to critique.
By thoughtfully curating a diverse yet cohesive portfolio of your best food photography, you can effectively showcase your skills and land more clients. Here’s my food photography portfolio that you can use as a reference on how easily showcase your photography work.
Food Photography Business
Food photography is a competitive and saturated market. To build a successful business, you need to understand your clients and how to market yourself effectively.
Understanding the Market and Clients
The main clients for food photographers include:
- Restaurants – For menus, website images, signage, social media
- Food brands – For product packaging, advertisements, catalogs
- Cookbooks and magazines – For recipes and food articles
- Bloggers and influencers – For recipes, reviews, sponsored content
- Hotels and caterers – For brochures, menus, website visuals
Understand the specific needs of each client. Restaurants want appealing images of their signature dishes and ambiance. Brands need professional shots of their products for packaging. Publications require high-quality images to accompany recipes and articles.
Research industry standards and trends. Look at what top photographers in your niche are producing. Follow leading food brands and restaurants to see what kind of visuals they use. This will help you tailor your services.
Pricing and Negotiating
Pricing can range dramatically based on your experience, client, usage, and other factors. Some pricing factors include:
- Your skill level and portfolio – More experience commands higher rates
- Client size and budget – Larger clients and brands pay more
- Usage rights – Photos used for advertising cost more than one-time editorials
- Half-day vs full-day shoots – Full days warrant higher fees
- Product vs lifestyle shots – Product images often priced higher
- Travel costs – Add fees if extensive travel is required
When starting out, you may need to offer discounts or flexible rates. Be confident in negotiating fair pricing as you gain experience. Clearly communicate usage rights and outline pricing and deliverables upfront.
Marketing Yourself
Promoting your work is key to getting clients. Effective strategies include:
- Building a stunning website portfolio to showcase work
- Creating social media accounts to share photos and interact with potential clients
- Networking at industry events and with food professionals in your region
- Running targeted ads to reach potential clients in your niche
- Optimizing online presence and SEO to rank highly for related keywords
- Email marketing to existing clients with new work samples and offers
- Partnering with brands, restaurants, and publications as an official photographer
By actively marketing yourself and delivering exceptional work to clients, you can build a reputation as an expert food photographer.
Guide Recap
- Types of Food Photography: Includes commercial, editorial, still life, and social media-focused photography.
- Key Elements: Sharp focus, thoughtful styling, attractive lighting, creative angles, vibrant colors, and purposeful props.
- Understanding Exposure: Mastering aperture, shutter speed, and ISO for optimal exposure in various lighting conditions.
- Lighting Techniques: Use of natural light, continuous lighting, strobes, reflectors, and diffusers to create appetizing food photos.
- Composition and Styling: Techniques like rule of thirds, leading lines, patterns, negative space, and thoughtful styling and plating.
- Post-Processing and Editing: Involves color correction, cropping, selective adjustments, sharpening, and creative effects to enhance food photos.
Mastering food photography requires a blend of technical skill, artistic vision, and a deep understanding of how to make food look its most appetizing. By combining the right equipment, lighting, composition, and post-processing techniques, you can create stunning images that captivate viewers and effectively achieve your clients’ goals.

Great article! I really appreciate the clear and detailed insights you’ve provided on this topic. It’s always refreshing to read content that breaks things down so well, making it easy for readers to grasp even complex ideas. I also found the practical tips you’ve shared to be very helpful. Looking forward to more informative posts like this! Keep up the good work!